Acoustic caulk is a specialized sealant designed to reduce noise transmission by filling gaps and cracks in walls, ceilings, and floors. Unlike regular caulk, it remains flexible over time, preventing sound from leaking through small openings. Whether you’re soundproofing a home theater, recording studio, or bedroom, acoustic caulk is an essential tool for achieving a quieter environment.
Why Use Acoustic Caulk for Soundproofing?
Sound travels through the smallest gaps, making even tiny cracks a significant source of noise leakage. Acoustic caulk is specifically formulated to address this issue. It adheres well to various surfaces, including wood, drywall, and concrete, and its flexibility ensures long-lasting performance. By sealing gaps around windows, doors, electrical outlets, and baseboards, acoustic caulk effectively blocks airborne and impact noise.
How to Apply Acoustic Caulk for Soundproofing
- Prepare the Surface:
Clean the area where you plan to apply the caulk. Remove dust, debris, and old caulk to ensure proper adhesion. Use a utility knife or scraper to clean out cracks and gaps. - Cut the Caulk Tube:
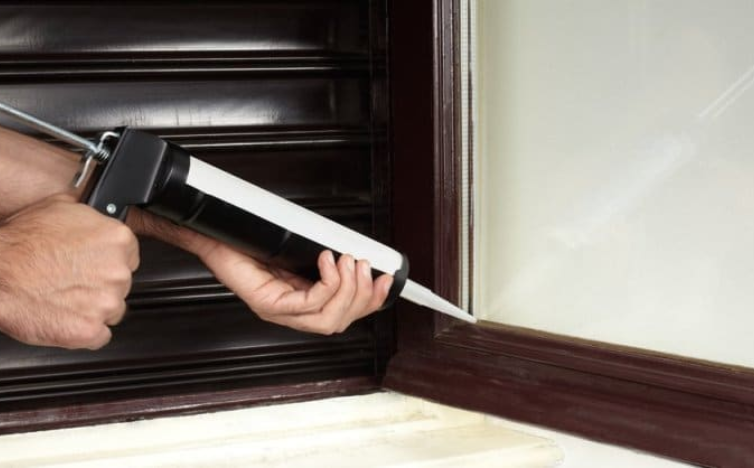
Cut the tip of the caulk tube at a 45-degree angle. Make the hole slightly smaller than the gap you’re filling to avoid over-application. - Load the Caulk Gun:
Insert the tube into a caulk gun and push the plunger until caulk begins to flow from the tip. - Apply the Caulk:
Slowly squeeze the trigger while moving the gun along the gap. Apply steady pressure to ensure an even bead of caulk fills the space completely. - Smooth the Caulk:
Use a caulk smoothing tool or your finger (dipped in water to prevent sticking) to smooth the caulk and ensure it adheres well to the surfaces. - Let It Cure:
Allow the caulk to dry according to the manufacturer’s instructions. This usually takes 24-48 hours, depending on the product and environmental conditions.
Tips for Effective Soundproofing with Acoustic Caulk
- Seal All Gaps: Pay attention to areas like corners, joints, and where walls meet ceilings or floors. These are common sound leakage points.
- Layer with Other Soundproofing Materials: Combine acoustic caulk with soundproofing drywall, insulation, or acoustic panels for maximum noise reduction.
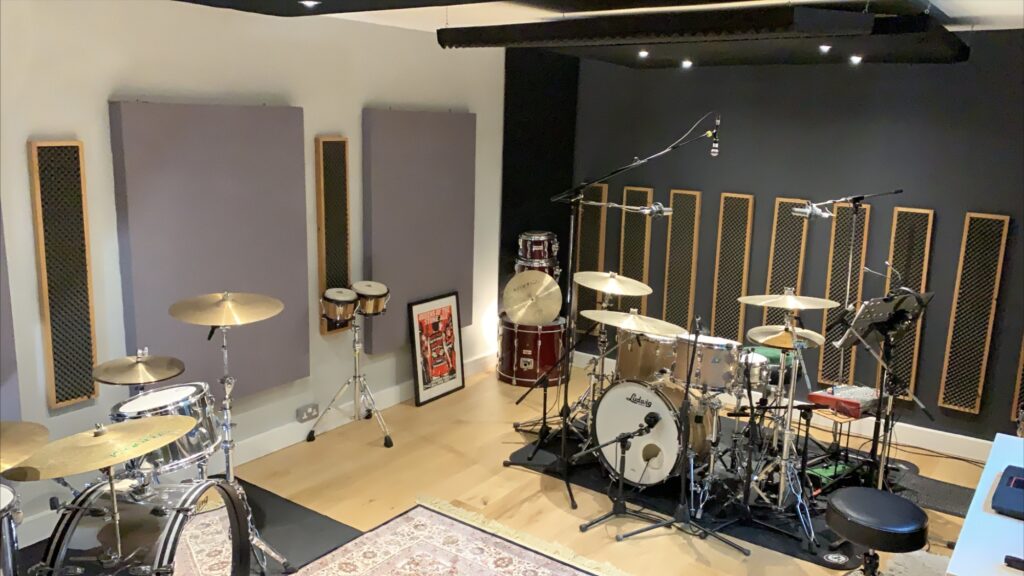
- Use in High-Traffic Areas: Focus on sealing gaps in walls and floors of rooms where noise is most problematic, such as home theaters or bedrooms.
- Choose Quality Products: Invest in high-quality acoustic caulk for better durability and performance.
Benefits of Using Acoustic Caulk
- Reduces Noise Pollution: Effectively blocks sound from entering or leaving a room.
- Improves Energy Efficiency: Seals gaps that can also let in drafts, improving insulation.
- Long-Lasting Flexibility: Unlike regular caulk, it won’t crack or shrink over time.
- Easy to Apply: Requires no special tools or skills, making it a DIY-friendly solution.
Call us: Contact Waseem Technical Soundproofing Expert in Dubai For Soundproofing: +971 50 209 7517
Conclusion
Acoustic caulk is a simple yet powerful solution for soundproofing any space. By sealing gaps and cracks, it prevents noise from traveling through walls, ceilings, and floors, creating a quieter and more comfortable environment. Follow the steps and tips outlined in this guide to achieve professional-level soundproofing results. Whether you’re tackling a small project or a full-room renovation, acoustic caulk is an essential tool in your soundproofing toolkit.