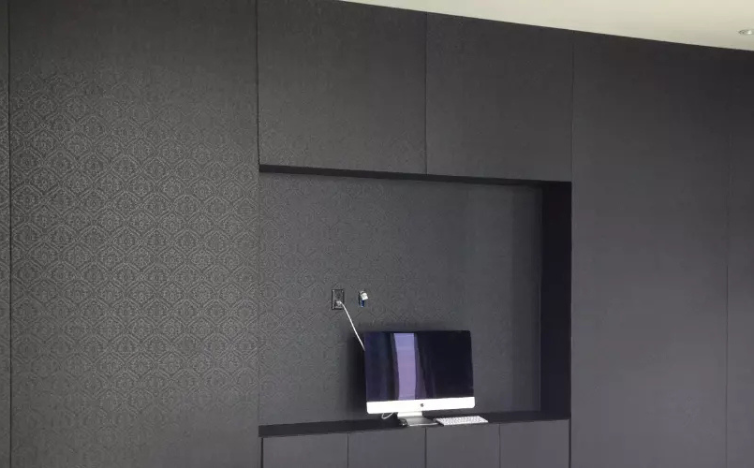
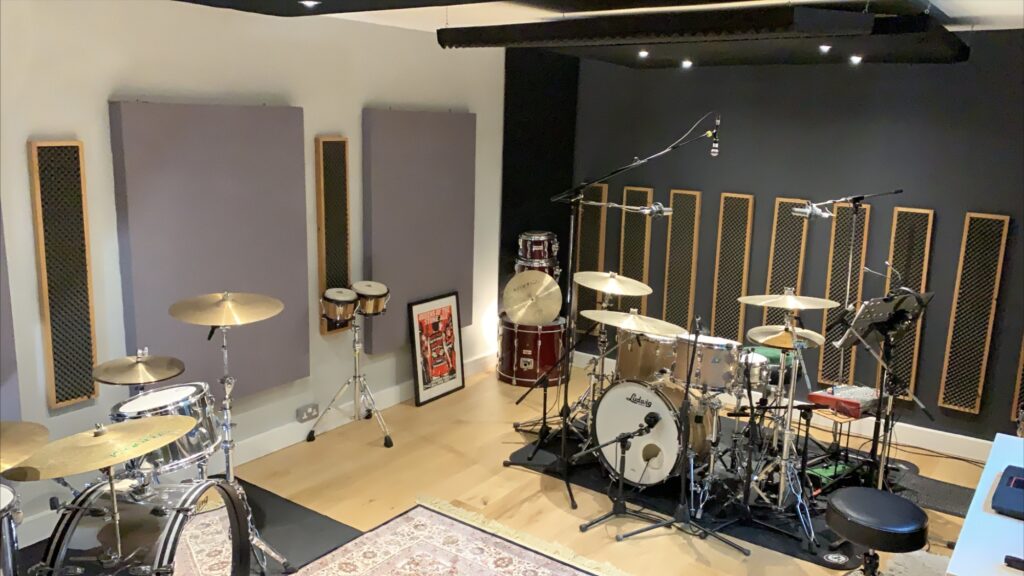
Stretch fabric wall panels are a stylish and effective way to improve acoustics in any room. They are commonly used in recording studios, home theaters, offices, and even residential spaces to control sound and create a visually appealing design. Installing these panels yourself can save on professional installation costs, and with the right approach, it’s easier than you might think. In this guide, we will walk you through the step-by-step process of installing stretch fabric wall panels.
Materials and Tools You’ll Need
Before you begin the installation process, gather the following materials and tools:
- Stretch fabric of your choice
- Acoustic backing material (like foam or insulation)
- Frame (aluminum or wood) for fabric stretching
- Measuring tape
- Staple gun or adhesive spray
- Scissors or a utility knife
- Level
- Screws and anchors (if needed)
Having these items ready ensures a smooth installation process without interruptions.
Step 1: Measure and Plan the Space
Start by measuring the wall area where you plan to install the stretch fabric panels. It’s important to be accurate because the fabric and acoustic backing need to fit the designated space perfectly. Mark the areas with a pencil or masking tape to visualize how the panels will look.

Additionally, decide whether you’ll be installing panels on the entire wall or just sections for targeted acoustic treatment. Planning your layout ahead of time ensures a seamless installation.
Step 2: Prepare the Wall
Clean the wall surface to remove any dust, dirt, or debris. This step is critical to ensure that the acoustic backing material and fabric adhere properly. If you’re installing panels over an uneven surface, consider smoothing the wall with spackling paste or sandpaper.
For optimal soundproofing results, consider installing acoustic insulation directly onto the wall before attaching the fabric panels.
Step 3: Install the Frame
The next step is to install the frame that will hold the stretch fabric in place. You can use either a wood or aluminum frame. Ensure that the frame is securely fastened to the wall using screws and anchors, and use a level to confirm it is straight.
The frame needs to be tight, as it will support the stretched fabric, and any slack will compromise the final appearance.
Step 4: Attach the Acoustic Backing
Once the frame is in place, it’s time to attach the acoustic backing material. This could be foam, insulation, or any sound-absorbing product that fits inside the frame.
Cut the acoustic material to fit the area within the frame. Secure the backing material either with adhesive spray or by pressing it directly onto the wall. Make sure it is snug and covers the entire space for maximum sound absorption.
Step 5: Stretch and Attach the Fabric
Now comes the most important step—stretching the fabric. Cut the fabric to the appropriate size, leaving a few extra inches on each side so it can wrap around the frame.
Start at the top of the frame and staple or adhere the fabric into place. Be sure to pull the fabric tightly to prevent sagging. Work your way around the frame, securing the fabric as you go, ensuring an even and smooth surface. Make adjustments as needed, using a staple gun to hold it securely.
Step 6: Trim the Excess Fabric
After the fabric is stretched and attached securely, trim away the excess fabric using scissors or a utility knife. Make sure to leave clean, sharp edges for a polished look.
Double-check for any wrinkles or sagging, and if necessary, re-stretch the fabric in areas that need adjustment.
Step 7: Inspect and Make Final Adjustments
Once the fabric is in place and trimmed, step back and inspect your work. Ensure that the fabric is taut and even across the entire panel. If any sections appear loose, re-stretch and staple as needed.
Additionally, confirm that the panel is level and the acoustic backing is fully covered by the fabric.
Step 8: Optional – Add Trim or Molding
For a more finished and professional look, you can add decorative trim or molding around the edges of the fabric panels. This will hide the staples and provide a clean border, enhancing the overall aesthetic of the wall.
Call us: Contact Waseem Technical Soundproofing Expert in Dubai For Soundproofing: +971 50 209 7517
Conclusion
Installing stretch fabric wall panels is a fantastic way to improve the acoustics of a room while adding a modern, sleek design element. With the proper tools and preparation, you can achieve professional results even as a DIY project. Follow these steps carefully, and enjoy the benefits of enhanced sound control in your space.


