Acoustic panels are essential for anyone looking to improve sound quality in a room, whether it’s for a home studio, entertainment room, or even a noisy office. While commercial acoustic panels can be expensive, building your own DIY acoustic panels is a cost-effective and rewarding project. This guide will walk you through the process, from materials needed to installation tips.
Materials Needed
Before you start, gather all the necessary materials. Here’s a list of what you’ll need:
- Acoustic Insulation: Rockwool or fiberglass insulation works best for sound absorption.
- Wooden Frame: Use 1×4 inch lumber to build the frame.
- Fabric: Choose a breathable, acoustically transparent fabric to cover the panels.
- Adhesive: Spray adhesive or staple gun to secure the fabric.
- Mounting Hardware: Picture hanging strips, screws, or Z-clips for installation.
- Tools: Saw, measuring tape, screwdriver, and a utility knife.
Step 1: Measure and Cut the Wooden Frame
Start by measuring and cutting the wooden frame to your desired size. Common sizes for acoustic panels are 2×4 feet or 2×2 feet. Use a saw to cut the 1×4 inch lumber into four pieces: two for the length and two for the width. Assemble the frame using screws or nails, ensuring it’s square and sturdy.
Step 2: Cut the Acoustic Insulation
Next, cut the acoustic insulation to fit inside the wooden frame. Use a utility knife to carefully cut the insulation, making sure it fits snugly within the frame. The insulation should be flush with the edges of the frame to ensure maximum sound absorption.
Step 3: Attach the Fabric
Lay the fabric flat on a clean surface and place the frame with the insulation on top. Wrap the fabric around the frame, pulling it tight to avoid wrinkles. Secure the fabric to the back of the frame using a staple gun or spray adhesive. Make sure the fabric is taut and smooth on the front side for a professional look.
Step 4: Install Mounting Hardware
Decide how you want to mount your acoustic panels. You can use picture hanging strips for a non-invasive option, or screws and Z-clips for a more secure installation. Attach the mounting hardware to the back of the frame, ensuring it’s evenly distributed to support the weight of the panel.
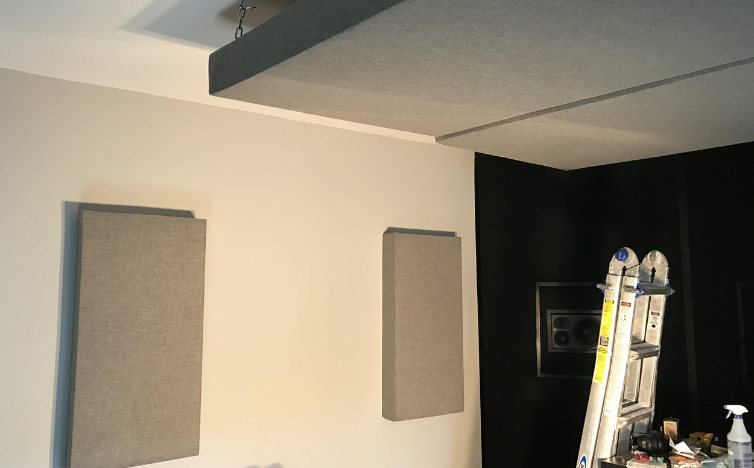
Step 5: Hang the Panels
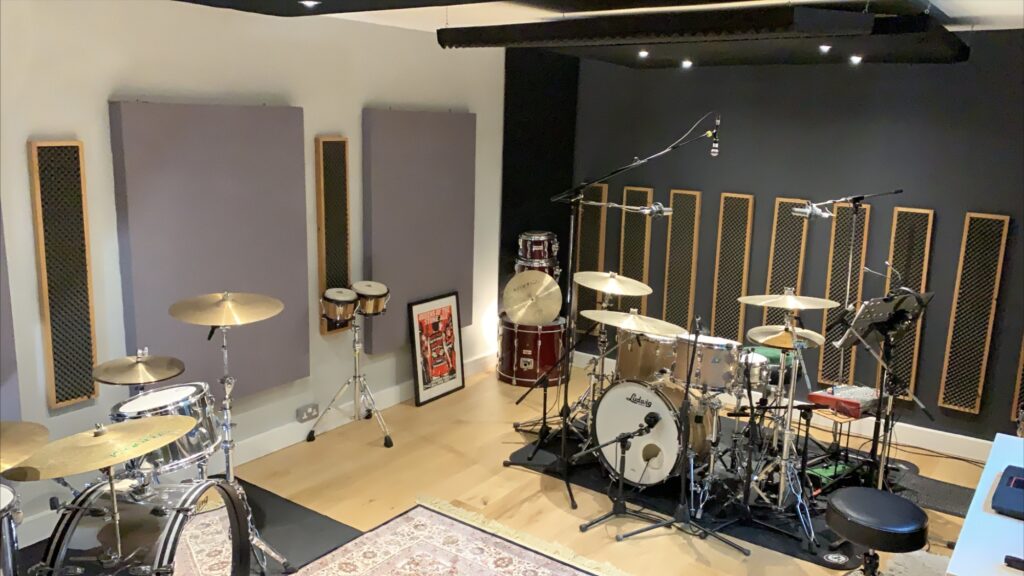
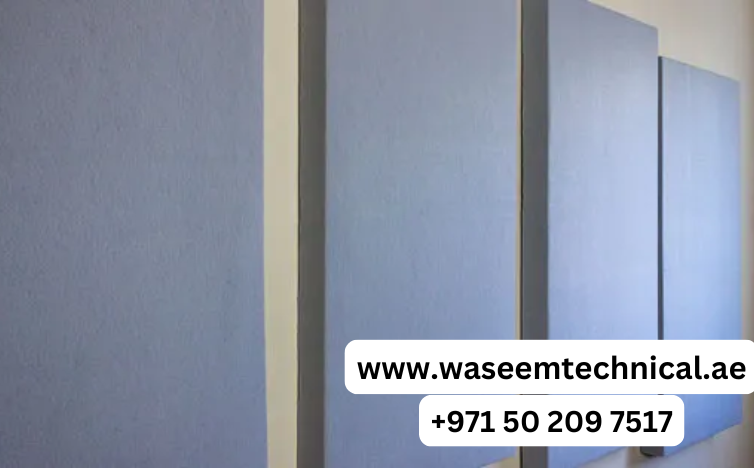
Finally, hang your DIY acoustic panels on the wall. Use a level to ensure they are straight and evenly spaced. For optimal sound absorption, place the panels at ear level and distribute them evenly around the room. You can also experiment with different arrangements to find the best acoustic performance.
Conclusion
Building your own DIY acoustic panels is a straightforward and cost-effective way to improve sound quality in any room. With just a few materials and some basic tools, you can create professional-looking panels that rival store-bought options. Not only will you save money, but you’ll also gain the satisfaction of having built something functional and aesthetically pleasing. So, roll up your sleeves and start your DIY acoustic panel project today!
Call us: Contact Waseem Technical Soundproofing Expert in Dubai For Soundproofing: +971 50 209 7517
Final Tips
- Safety First: Wear gloves and a mask when handling insulation to avoid irritation.
- Fabric Choice: Choose a fabric that complements your room’s decor while being acoustically transparent.
- Experiment: Don’t be afraid to experiment with different sizes and placements to achieve the best sound quality.
By following this guide, you’ll be well on your way to creating a space with superior acoustics, all while staying within your budget. Happy building!