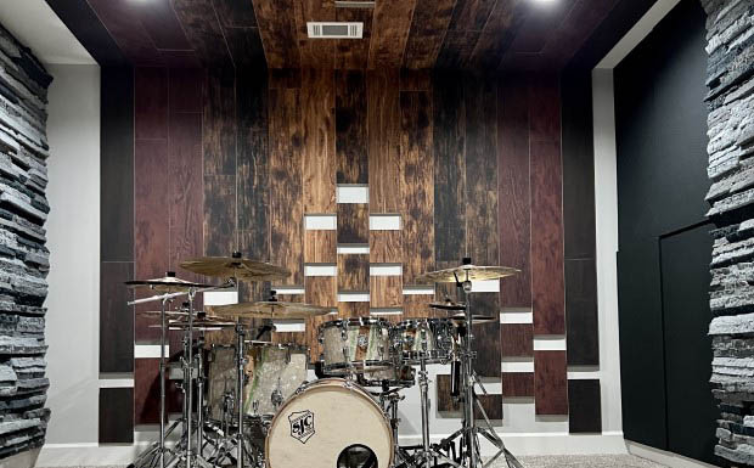
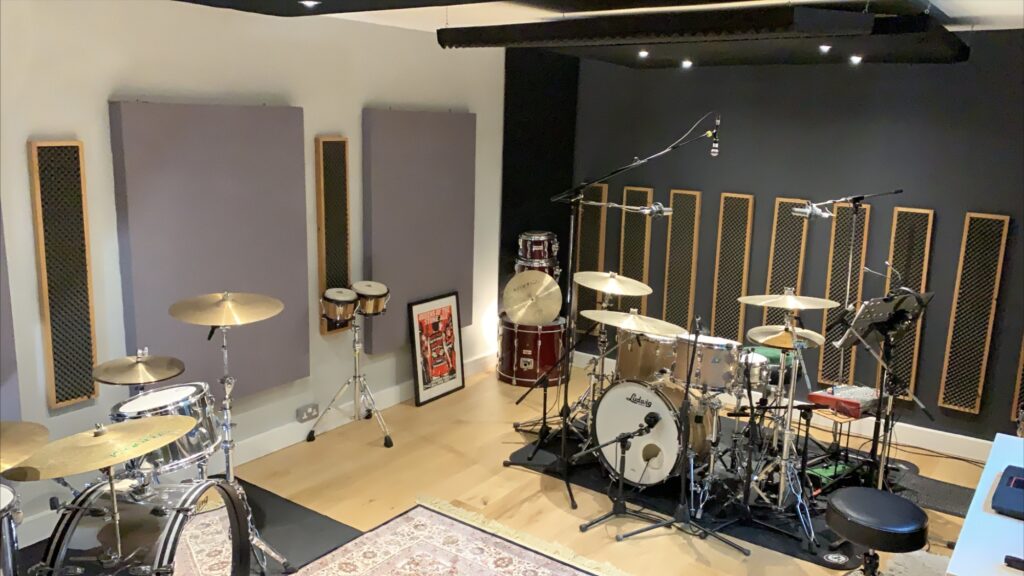
Drums are an exciting and powerful instrument, but their sound can easily disrupt neighbors and housemates. Creating a soundproof drum room can minimize noise leaks, improve practice sessions, and prevent potential complaints. This guide covers essential steps and materials for effectively soundproofing a drum room.
1. Choose the Right Room
Selecting the right room can reduce the amount of soundproofing required. Basements and rooms with fewer shared walls are ideal, as they naturally contain sound better. Avoid rooms that share walls with neighbors or high-traffic areas in the house.
2. Seal Doors and Windows
Doors: Most sound escapes through gaps around doors. Use door sweeps to seal the gap at the bottom, and apply weatherstripping to the sides to keep sound contained. A heavy, solid-core door is preferable to a hollow one.
Windows: Windows allow sound to travel outside easily. Install acoustic window inserts or heavy, soundproof curtains to reduce noise leakage. Alternatively, add a second layer of glass to existing windows for extra insulation.
3. Add Mass to the Walls
To contain drum sounds effectively, add mass to the room’s walls. Mass Loaded Vinyl (MLV) is a popular material that provides substantial noise reduction. Apply MLV sheets to the walls or layer them with dense materials like drywall. Multiple layers will be more effective than one.

4. Install Acoustic Panels
Acoustic panels absorb sound within the room, reducing echo and enhancing sound quality. Place these panels on walls opposite the drums to capture noise directly. You can also use bass traps in corners to manage low-frequency sounds, which can be particularly bothersome with drums.
5. Soundproof the Floor
Sound can transfer through floors, especially in multi-story buildings. Lay down a thick rug or carpet in the drum area to absorb vibrations. For extra effectiveness, place soundproofing mats or underlay beneath the carpet to create a double-layered barrier. This setup helps absorb vibrations and dampens the noise reaching floors below.
6. Add a Floating Drum Riser
A floating drum riser is an elevated platform designed to isolate drum vibrations from the floor, significantly reducing noise transfer. You can create a DIY drum riser using plywood, insulation, and rubber feet, or purchase a ready-made version. This setup minimizes floor vibrations, which are often the main cause of noise disturbances.
7. Consider Ceiling Soundproofing
Sound easily escapes through ceilings, especially if the drum room is in an upper story. Add dense insulation between ceiling joists and consider adding a second layer of drywall with Green Glue (a sound-dampening compound) to reduce noise transmission. Acoustic ceiling panels can also help absorb sound inside the room, improving overall acoustic quality.
8. Use Soundproofing Curtains and Blankets
Heavy soundproofing curtains and blankets are versatile tools for further dampening noise. Hang these curtains over doors, windows, or even walls to reduce sound transmission. They’re especially helpful if you’re looking for an easy, temporary solution to soundproof your drum room without any construction.
9. Monitor and Adjust
Soundproofing may require a bit of trial and error. After setting up, test the sound levels outside the room and make adjustments as needed. You may need to add extra layers or make slight changes to effectively contain the sound.
Call us: Contact Waseem Technical Soundproofing Expert in Dubai For Soundproofing: +971 50 209 7517
Conclusion
Soundproofing a drum room requires careful planning and the right materials to effectively control noise. By following these steps, you can create a space that allows you to practice freely without disturbing others. Whether you’re a hobbyist or a professional drummer, a soundproof drum room can make a world of difference for your practice sessions and peace of mind.


